
![]() 11/22/13: Now available to play in your browser!
11/22/13: Now available to play in your browser!
Kingdom Rush has returned! Ironhide Game Studio has released an official sequel to the tower defense game that stole our free time (and social lives) back in 2011. Kingdom Rush Frontiers is built on the same basic defense skeleton that made the first game so spectacular, only now there's more of it! It's Kingdom Rush, and you know it's going to be amazing, so get to playing! (Now available for Android as well!)
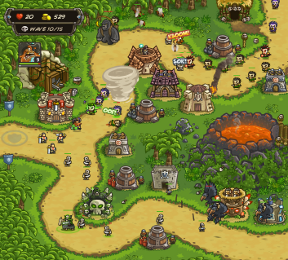 For those of you who might need a little convincing, here are the basic brush strokes that comprise this beautiful masterpiece of a game. Kingdom Rush Frontiers puts you in control of placing towers on a field to stop invading enemies. Each one has a different strength and weakness to work with, such as archer towers firing fast but being weak to heavily armored enemies or artillery towers doing great damage at the cost of firing slower than pouring molasses up a hill. The key to success is organizing the towers so they effectively cover the path, then upgrading as you see fit. It's a familiar set-up for sure, but Ironhide managed to balance the gameplay so well that it's practically impossible not to get hooked from the get-go.
In addition to towers you also have a few special powers you can unleash which are both fun and functional! Reinforcements can be deployed with a few taps of the screen, dropping a couple of fighters out to skirmish with the bad guys. You also have more impressive magical abilities that can quite literally rain destruction from the sky. Heroes are key units that can be commanded to attack throughout the battlefield. They also have skills that can be upgraded through unique skill trees, adding a nice RPG-like touch to the whole experience.
 Analysis: If we haven't convinced you by now that Kingdom Rush games are good games, we're not sure what else we can do. Not only was it voted Best Browser Defense or Strategy Game in our Best of 2011 feature, it also walked away with Game of the Year, topping every game we featured in all genres and all platforms for the entire year. So, yeah, Kingdom Rush good. And Kingdom Rush Frontiers good, too!
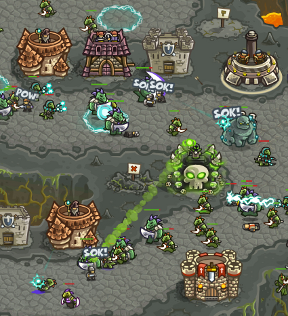
So much is new in Kingdom Rush Frontiers, and it's all incorporated without upsetting the balanced gameplay introduced in the original. New levels are kind of a given, and the settings range from caves to deserts to grasslands to jungles. Eight new special towers have been introduced, allowing you to attack foes with necromancers, assassins, or earthquakes. There are 40 foes to dispatch as well as nine new heroes like Cronan the Beastmaster and Sha'Tra the Alien Predator to dispatch them with. All of that is in addition to 70 achievements, unlockable weapons, and as Ironhide covertly promised, giant sandworms and a black dragon that will burn your enemies to a crisp.
When a sequel comes along to something as big as Kingdom Rush, you can't help but be interested. Kingdom Rush Frontiers doesn't mess with the basic formula, but it adds so many new things that it does feel like a true sequel. It's perfection in a defense game, plain and simple!
NOTE: This game was played and reviewed on the iPad 3. Game was available in the North American market at the time of publication, but may not be available in other territories. Please see individual app market pages for purchasing info.


Walkthrough Guide
(Please allow page to fully load for spoiler tags to be functional.)
Kingdom Rush Frontiers strategy guide
Tips:
Always explore the screen of each new level before you begin. There are sometimes recruits or other special helpers around the map.
It's a good idea to tap on the upcoming enemy icon to see what's next. It can help you decide what and where to build. Double tap to send a wave early which will earn you extra gold.
If you can't pass a level with three stars, earn stars on other levels to upgrade your units and heroes, then try again.
Enemy units can have magic resistance or armor. Check your in game encyclopedia or tap an enemy to see what they have.
Mage Towers are great against armor.
Arrows and artillery are great against those with heavy magic resistance.
Tower types and hints:
Each basic tower can upgrade into two specialty towers, listed below with their abilities:
Archer Tower: Good for fast moving enemies, and those with magic resistance.
Crossbow Fort
Barrage shoots up to six bolts in a row.
Falconer gives archers improved crit shot. Also improves the range of nearby towers.
Tribal Axethrowers
Totem of Weakness makes enemies sustain more damage from all sources.
Totem of Spirits dispells magic and silences spellcasters for a time.
Barracks: Barracks are good for slowing enemies down so your other towers can get more shots in. Don't forget you can move the rally point! Sometimes it is helpful to move them closer to the action.
Assassin's Guild
Sneak Attack gives a chance to ignore armor.
Counterattack improves dodge and deals damage in a counterattack.
Pick Pocket has a chance to steal gold every attack.
Knights Templar
Toughness increases Templar's life.
Arterial Strike adds chance of bleed to attacks.
Holy Grail gives a chance for Templars to avoid death on a killing blow.
Mage Tower: Good for enemies with high armor.
Archmage Tower
Twister summons a tornado that pushes enemies back and deals damage.
Critical Mass gives a chance of splash damage.
Charges magical bolts when idle which then home in on the first enemy in range.
Necro Tower
Death Rider bolsters nearby skeletons.
Pestilence summons a cloud that poisons enemies.
Artillery: Good for groups of enemies.
Dwaarp
Core Drill attacks enemies from underground.
Furnace blast burns all enemies in range.
Battle-Mecha T200
Wasp Missile sends homing missiles that never miss.
Waste Disposal drops oil that slows enemies.
Heroes:
Heroes level up slowly over time by dealing damage and using abilities. Once they level up, check the heroes screen to upgrade special abilities.
Alric the Champion: High armor and decent damage make him perfect for the front line. He moves more slowly than the other heroes.
Mirage the Assassin: No armor but deadly fast. Prefers attacking from a distance.
Cronan the Beastmaster: No armor but high health. Calls animals to help him fight. Has an extra health regeneration ability.
Select Level Tips:
Level 4, Dunes of Despair:
Be aware that sometimes the ground will tremble for a moment before a sandworm pops up. It will eat anyone standing on the spot. Make sure you move your hero out of the way if needed!
On the Iron Challenge, use several genies on the left path. They will make short work of the immortals.
Level 5, Buccaneer's Den:
Notice the canoneers on the left. They can help you in a pinch. Double tap to purchase a canon, then tap the road to deploy.
Build down the center first, so you can hit both paths, with an artillery nearest the enemy spawn point.
Occasionally the enemy will fire at you. Watch for red cross hairs to appear on the path.
Level 6, Nazeru's Gates:
On the Heroic Challenge, place a few extra barracks on the left to help with all the desert terrors.
Level 7, Crimsom Valley:
None of the enemies that appear on this level have armor, but some have magic resistance. Stick mostly to archers and barracks. Re-assign your upgrade points to these towers if necessary.
For the Iron Challenge, upgrade down the middle first. Keep your hero near the bottom right. Then start upgrading on the left to help as the wasps get tougher.
Level 8, Snapvine Bridge:
Don't position your hero, soldiers, or reinforcements near a tall plant, unless you want them to get eaten!
For the Iron Challenge, use axethrowers on the south path for totems to silence all the magic users, and crossbow towers on the north for their speed to get all the little spiders.
Level 9, Lost Jungle:
Focus on archers and artillery on the bottom path, and mage towers on the top. But you'll want at least one archer upgraded to tribal axethrowers to help dispel magic near the top intersection.
For the Heroic Challenge you'll need a lot of archers for the flyers. But also use barracks, as the flyers will stop to target the soldiers.
For the Iron Challenge keep in mind that will all the parasites that come through, too many barracks could be a hinderance.
Level 10, Ma'qwa Urqu:
There is a hut on the top right of the screen. Periodically a savage will come out holding a woman. Use your hero or soldiers to kill him before he reaches the volcano. Not only will this earn you the Save the Princess achievemnet, everytime he throws a girl into the volcano, it shoots out fireballs at your soldiers and hero.
Level 11, Temple of Saqra:
For the Heroic Challenge it's useful to use the assassin since she can hit flying targets. Upgrade to Battle-Mechas with missiles to also help with the birds. Use axethrowers on the right and crossbows on the left.
For the Iron Challenge use Death Riders as a means to slow enemies down.
Level 12, The Underpass:
Build your heaviest defenses along the leftmost path since a lot of enemies go through the tunnel. Place a barracks near the exit to catch any stray Nightscales that get through. Keep in mind that Nightscales can still get damage from AOE attacks while invisible.
For the Iron Challenge, use a couple of well placed axethrowers fo the extra damage totem.
Level 13, Beresad's Lair:
For the Heroic Challenge build along the bottom, placing barracks near the exit to nab Nightscales.
For the Iron Challenge you'll need to build two Battle-Mechas with missiles right away, as the first few waves are birds. The assassin hero is also a good idea, and make sure your re-enforcements are upgraded all the way to have arrow capabilites. This level is really about micromanaging the Mechas. Don't build any on the top row, upgrade all the ones you build to missiles, but don't worry too much about oil.
Level 14, Dark Descent:
Necro Towers are useful near intersections. Try to build an army of skeletons to slow down the enemy.
For the Iron Challenge, use meteors on the Myrmidons that come along the bottom path when possible. Build only mage towers on the bottom path, near the exit. On the top build a couple of archer towers and make sure to upgrade the barrel splash damage in the Dwarven tower.
Level 15, Emberspike Mountain:
Starting around wave 13, don't build or upgrade anymore unless absolutely necessary. This will allow you to save up cash to rebuild the buildings the boss destroys.
For the Iron Challenge, put barracks near all the entrances and exits, and artilleries at the ends of all the rows. I upgraded to the earthquake towers on the bottom, and the mechas on the sides. Bolster these with crossbow towers for the extra range.
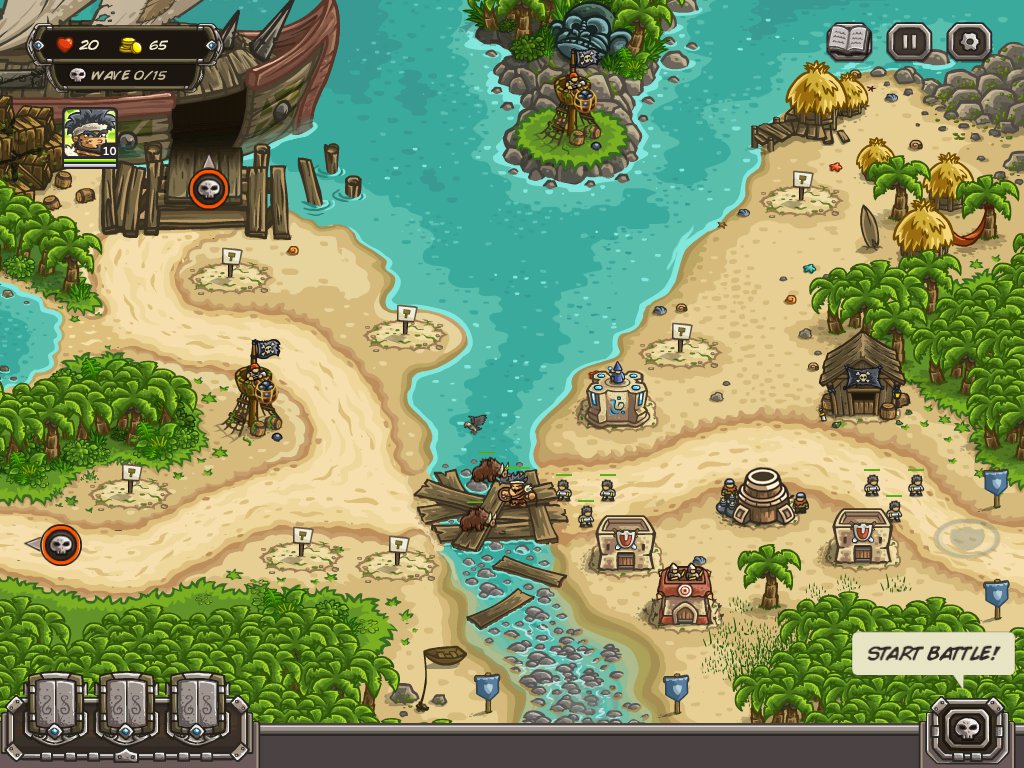
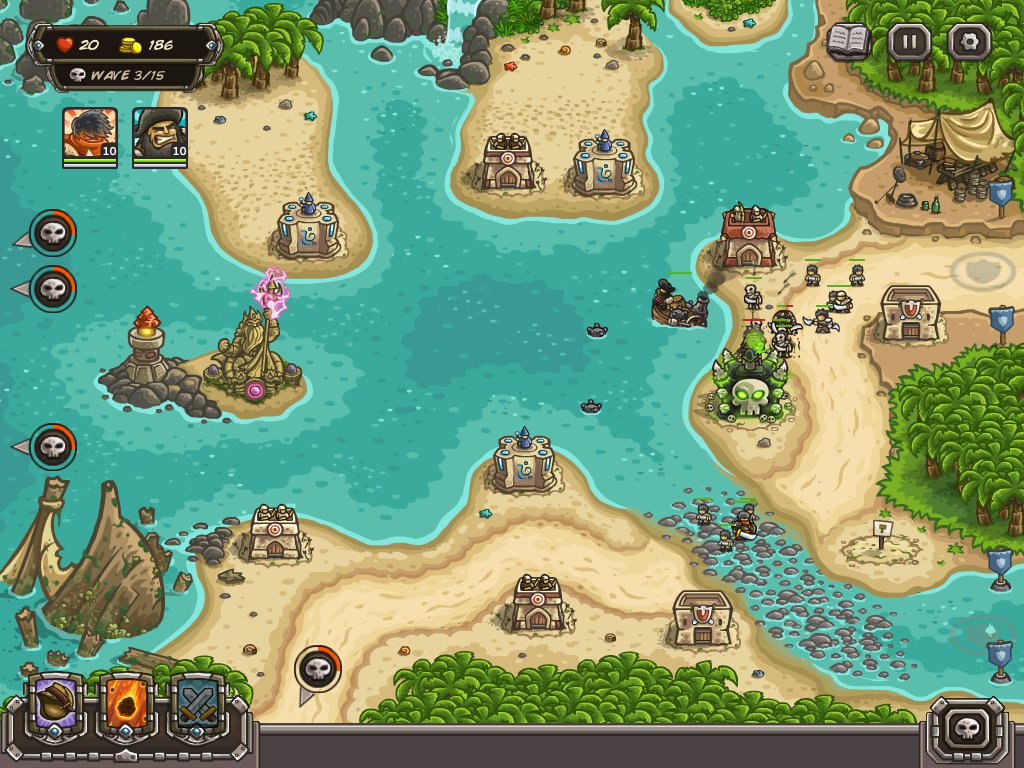
Level 16, Port Tortuga:
Note: I encountered a bug several times on this level where a Blacksurge would go into its shell and sit there. It wouldn't move, heal, or come out of its shell. I couldn't win when this happened because an enemy was still on the screen. If you notice it, it's best to just start over.
I found Cronan's stampede ability very useful on this level.
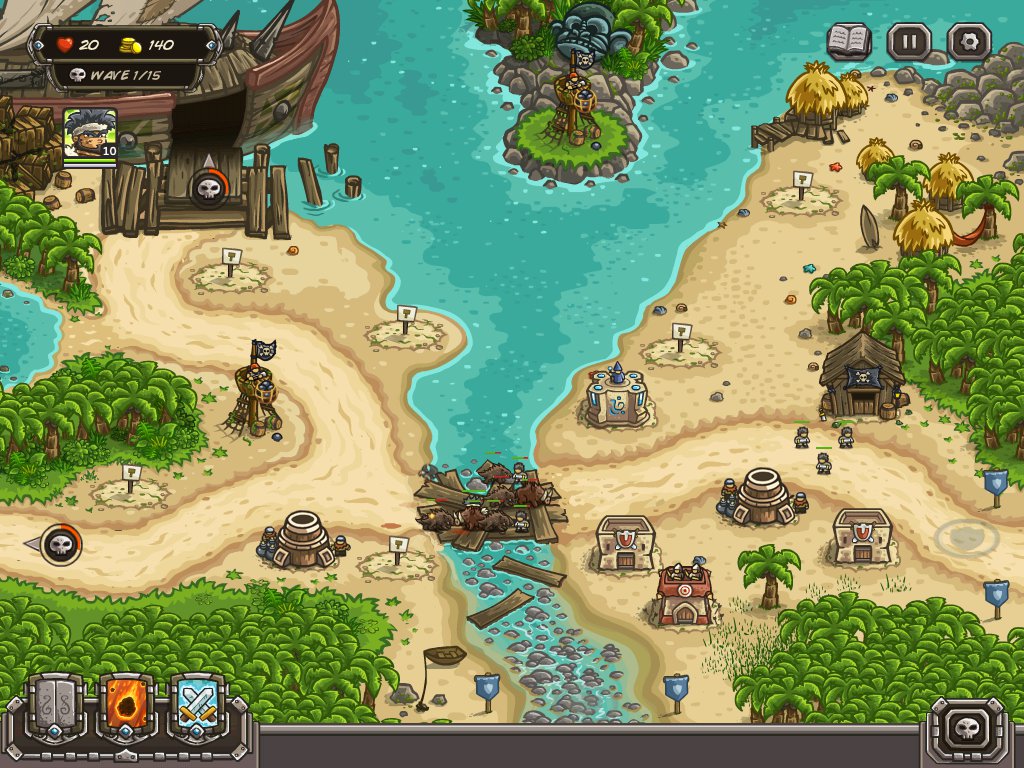
Note the pirate watchtowers already placed on the board. These can be upgraded to help you out. There's also a Scumm Bar where you can hire help, though I didn't use it much til the end.
Here's what I did before I started.
Screenshot
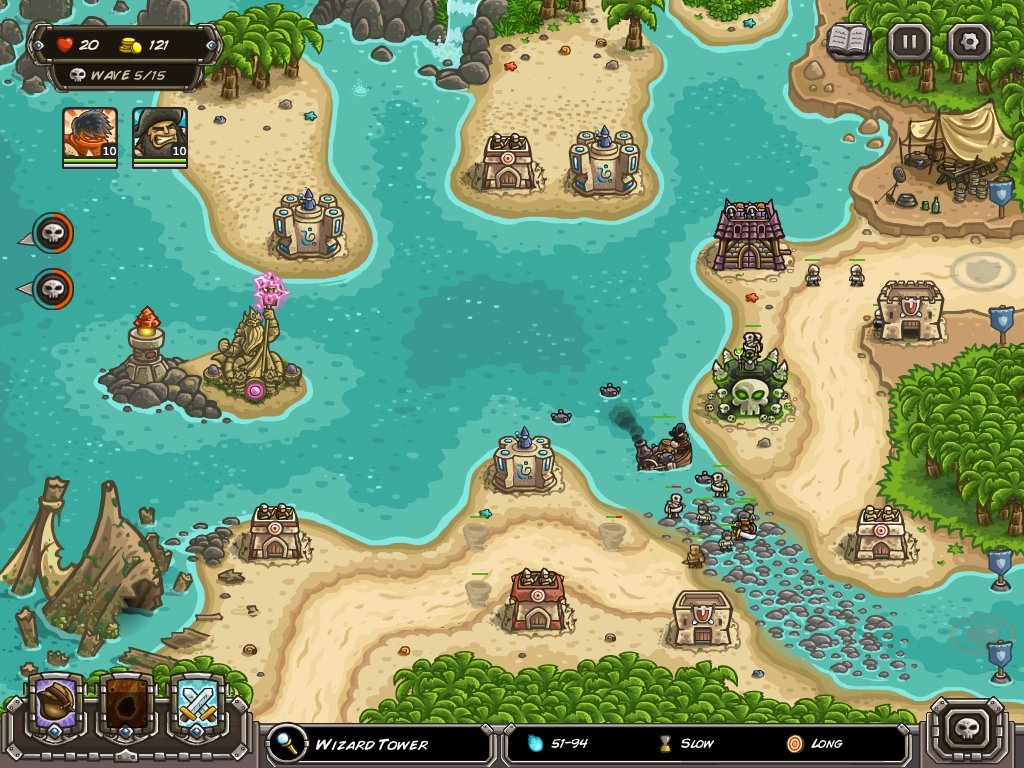
Here's the layout at the end of wave 1.
Screenshot
Every so often, a cannon ship will come down the river. Its shots act something like the meteor shower, targeting your soldiers. If you think you can spare it, use the meteor shower to take it down. But I often found it more useful to save the meteor shower for stray enemies.
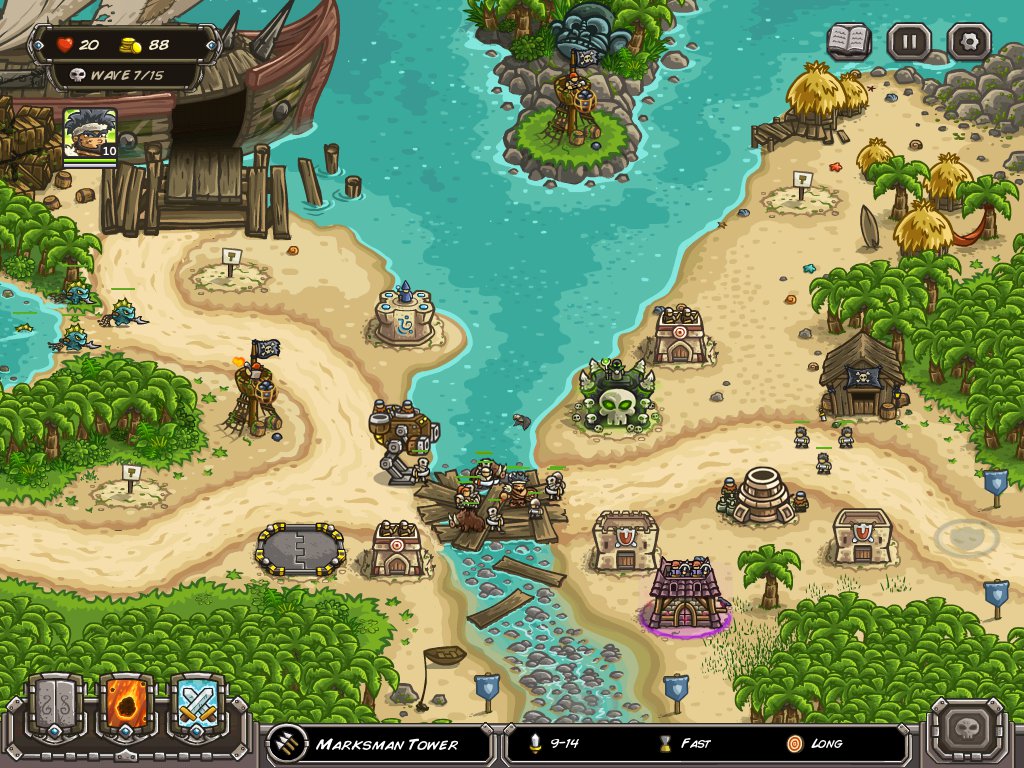
Upgrade all archers to crossbow towers, then upgrade the falconer ability. The extra range is extremely helpful, especially when the Blacksurges start coming.
Here's a picture at wave 7.
Screenshot
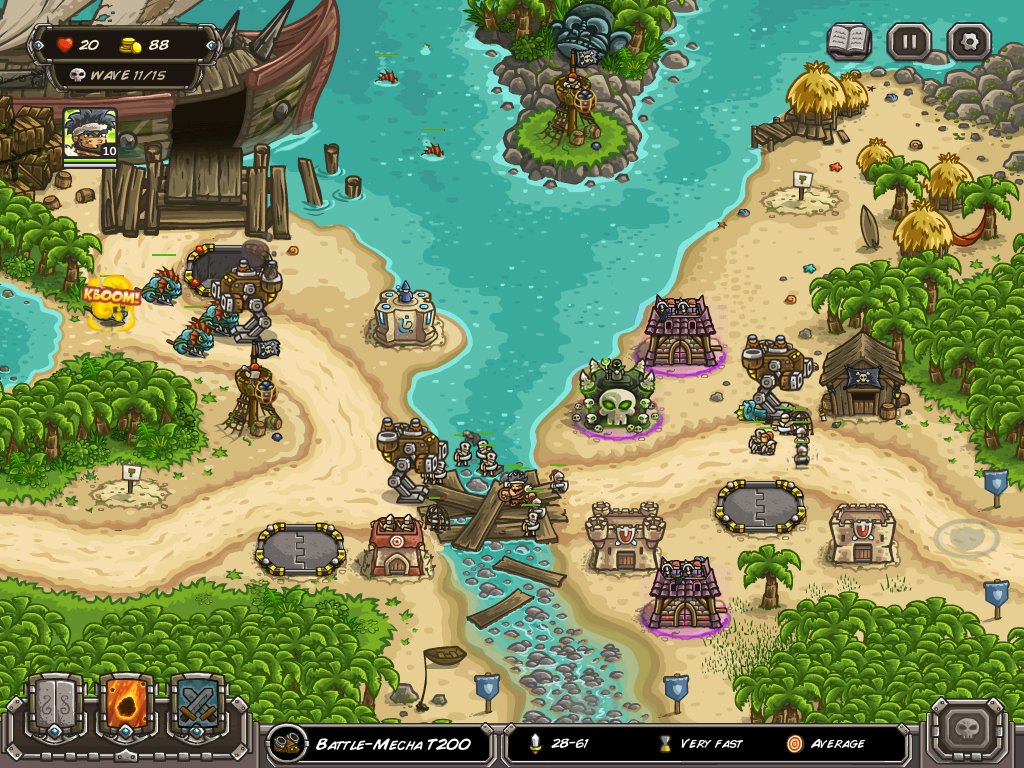
Battle Mecha's can still fire (though they cannot be reposistioned or upgraded) when frozen by a Blacksurge. Barracks are not affected either.
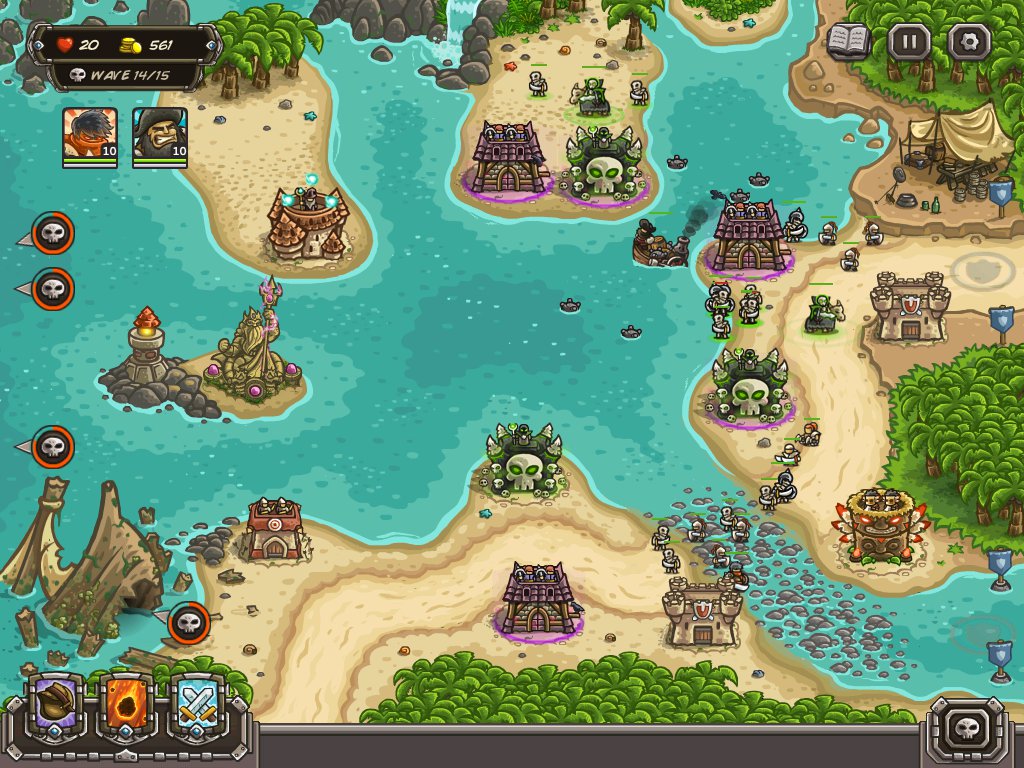
By the end of wave 11, make sure you have 3 Battle Mechas with missiles.
Screenshot
Here's what the board looked like at the end of the game.
Screenshot
For the Heroic Challenge, I used the meteor shower to take out the large waves of immortals. Fortify heavily to the right of the bridge.
For the Iron Challenge, defend from the bridge to the right the most heavily. Upgrade the pirate towers early with parrots. They are effective at taking out the bomber ships. It is helpful to buy a Boatswain from the Scumm Bar for Blacksurges that make it that far.
Level 17, Storm Atoll:
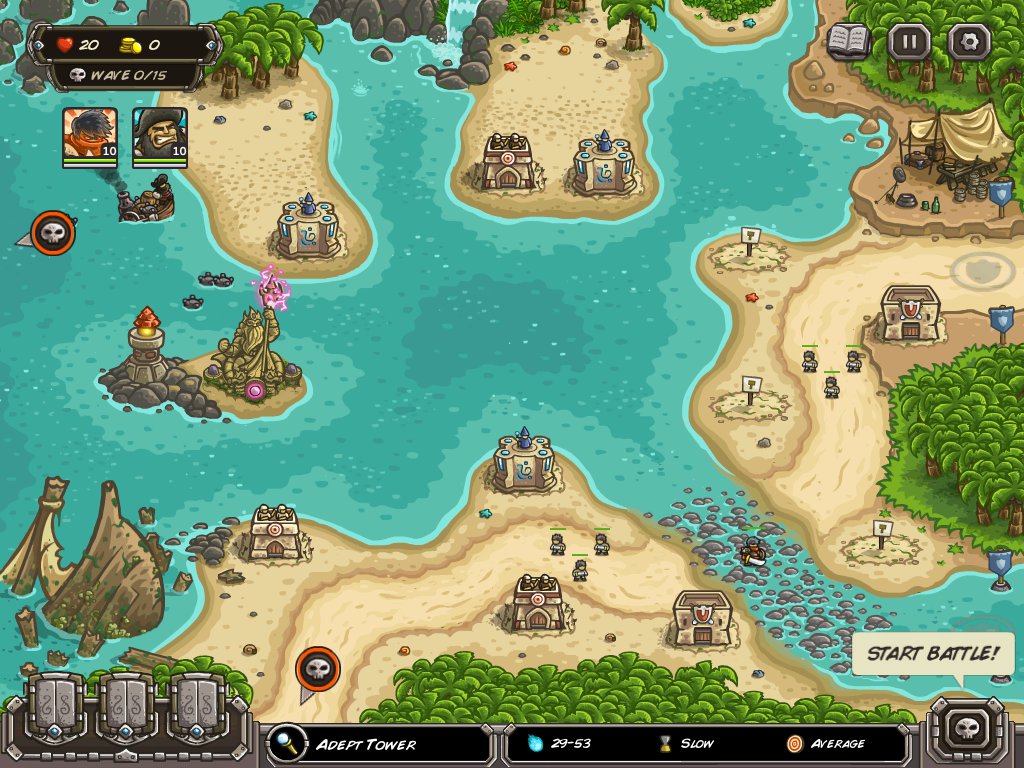
Upgrading the Shrine of Regnos (the statue) and using it on this level is mandatory. Use it on any Blacksurge, Bluegale, or Bloodshell when it is charged. I upgraded it to level one right off the bat, level two on wave 9, and level 3 on wave 10.
Moving the special hero in the boat around to strategic places is very important. Make sure he is always bombing an enemy!
I tried passing this level with 3 stars without using items from the gem shop, but I ended up using a freezing wand two times during wave 15. Using the statue zap is nice, but when there are several Bluegales, Bloodshells, and Blacksurges on the screen together, freezing them in place near a tower or two was the only way I could see to do it.
Don't use artillery on this level. Having Death Towers is useful for slowing enemies down because there's not much room for barracks. Crossbow towers are useful for their range.
Here's how I started.
Screenshot
By the end of wave 3, it should look something like this.
Screenshot
By the end of wave 5, it should look something like this.
Screenshot
From there, just upgrade your buildings as needed. The end result should be something like this.
Screenshot
Achievements:
One Froggy Evening is awarded by tapping on the frog by the pond in level 3, Sape Oasis.
SOS to the World is awarded by tapping the floating bottle in level 8, Snapvine Bridge.
Dr Henry Walton is awarded on level 11, Temple of Saqra. At the beginning of wave 6, Indy pops in for a visit on the top right. Hit the buttons underneath him in this order: middle, left, right.
Organic Impluse is awarded by repeatedly tapping the Bantah beast on level 3, Sape Oasis
Save the Princess is awarded on level 10, Ma'qwa Urqu, for stopping the savage from throwing the woman into the volcano.
Splash is awarded on level 5, Bucanner's Den. Watch for a mermaid to appear on the left near the cannon ship. Tap her when you see her.
Posted by: Kimberly |
June 9, 2013 10:01 PM
|
June 9, 2013 10:01 PM